Honda CR-V: Additional Information on Recommended Discs
Honda CR-V (2006–2011) Owner's Manual / Features / Protecting Your Discs / Additional Information on Recommended Discs
The disc player/changer has a sophisticated and delicate mechanism. If you insert a damaged disc as indicated in this section, it may become stuck inside and damage the audio unit.
Examples of these discs are shown to the right:
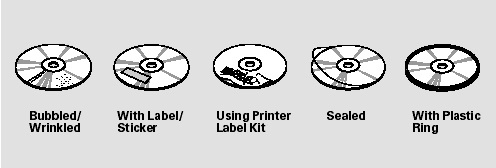
1. Bubbled, wrinkled, labeled, and excessively thick discs
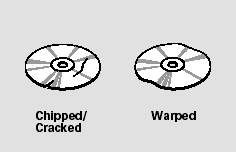
2. Damaged discs
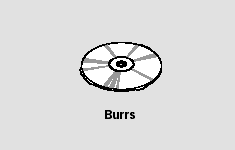
3. Poor quality discs
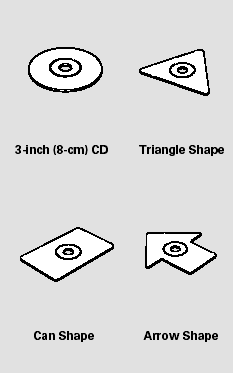
4. Small, irregular shaped discs
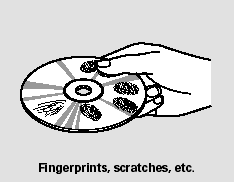
5. Discs with scratches, dirty discs
CD-R or CD-RW may not play due to the recording conditions.
Scratches and fingerprints on the discs may cause the sound to skip.

Recommended discs are printed with the following logo.

Audio unit may not play the following formats.
READ NEXT:
 Remote Audio Controls
If equipped
Three controls for the audio system
are mounted in the steering wheel
hub. These let you control basic
functions without removing your
hand from the wheel.
The VOL button adjus
Playing an Optional Audio Unit
Your vehicle has the auxiliary input
jack on the front panel, on the center
table, or in the console compartment,
depending on models. The system
will accept auxiliary input from
standard
Radio Theft Protection
Your vehicle’s audio system will
disable itself if it is disconnected
from electrical power for any reason.
To make it work again, you must
enter a specific code using the preset
buttons (i
SEE MORE:
Engine Lubrication
Special Tools
Oil Filter Wrench
Component Location Index
OIL PAN
WASHER
DRAIN BOLT
OIL PUMP
OIL PUMP CHAIN
GUIDE
OIL PUMP CHAIN
TENSIONER
OIL CONTROL ORIFICE
OIL FILTER
OIL FILTER FEED PIPE
OIL FILTER BASE
ENGINE OIL GALLERY CAP
OIL PRESSURE SWITCH
Sym
ATF Replacement
NOTE: Keep all foreign particles out of the transmission.
1. Park the vehicle on the level ground.
2. Warm up the engine to normal operating
temperature (the radiator fan comes on), and turn
the engine off.
3. Remove the drain plug (A), and drain the automatic
transmission fluid (ATF).
NOTE: If
© 2016-2024 Copyright www.hcrv.net
